728x90
반응형
안녕하세요 욱승입니다.
이번 포스팅에서는 구글 AdMob을 이용해 광고를 달아보겠읍니다!
Pod

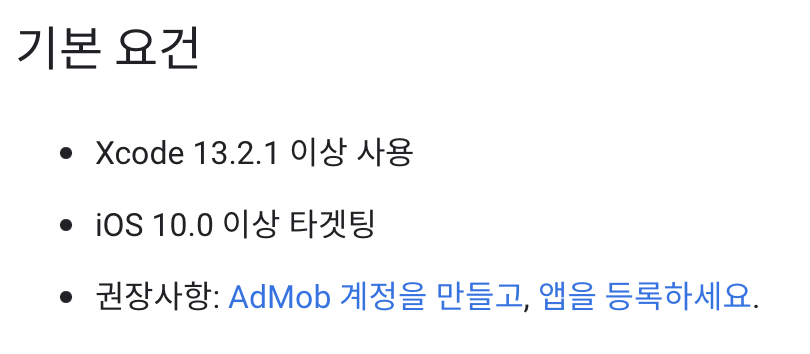
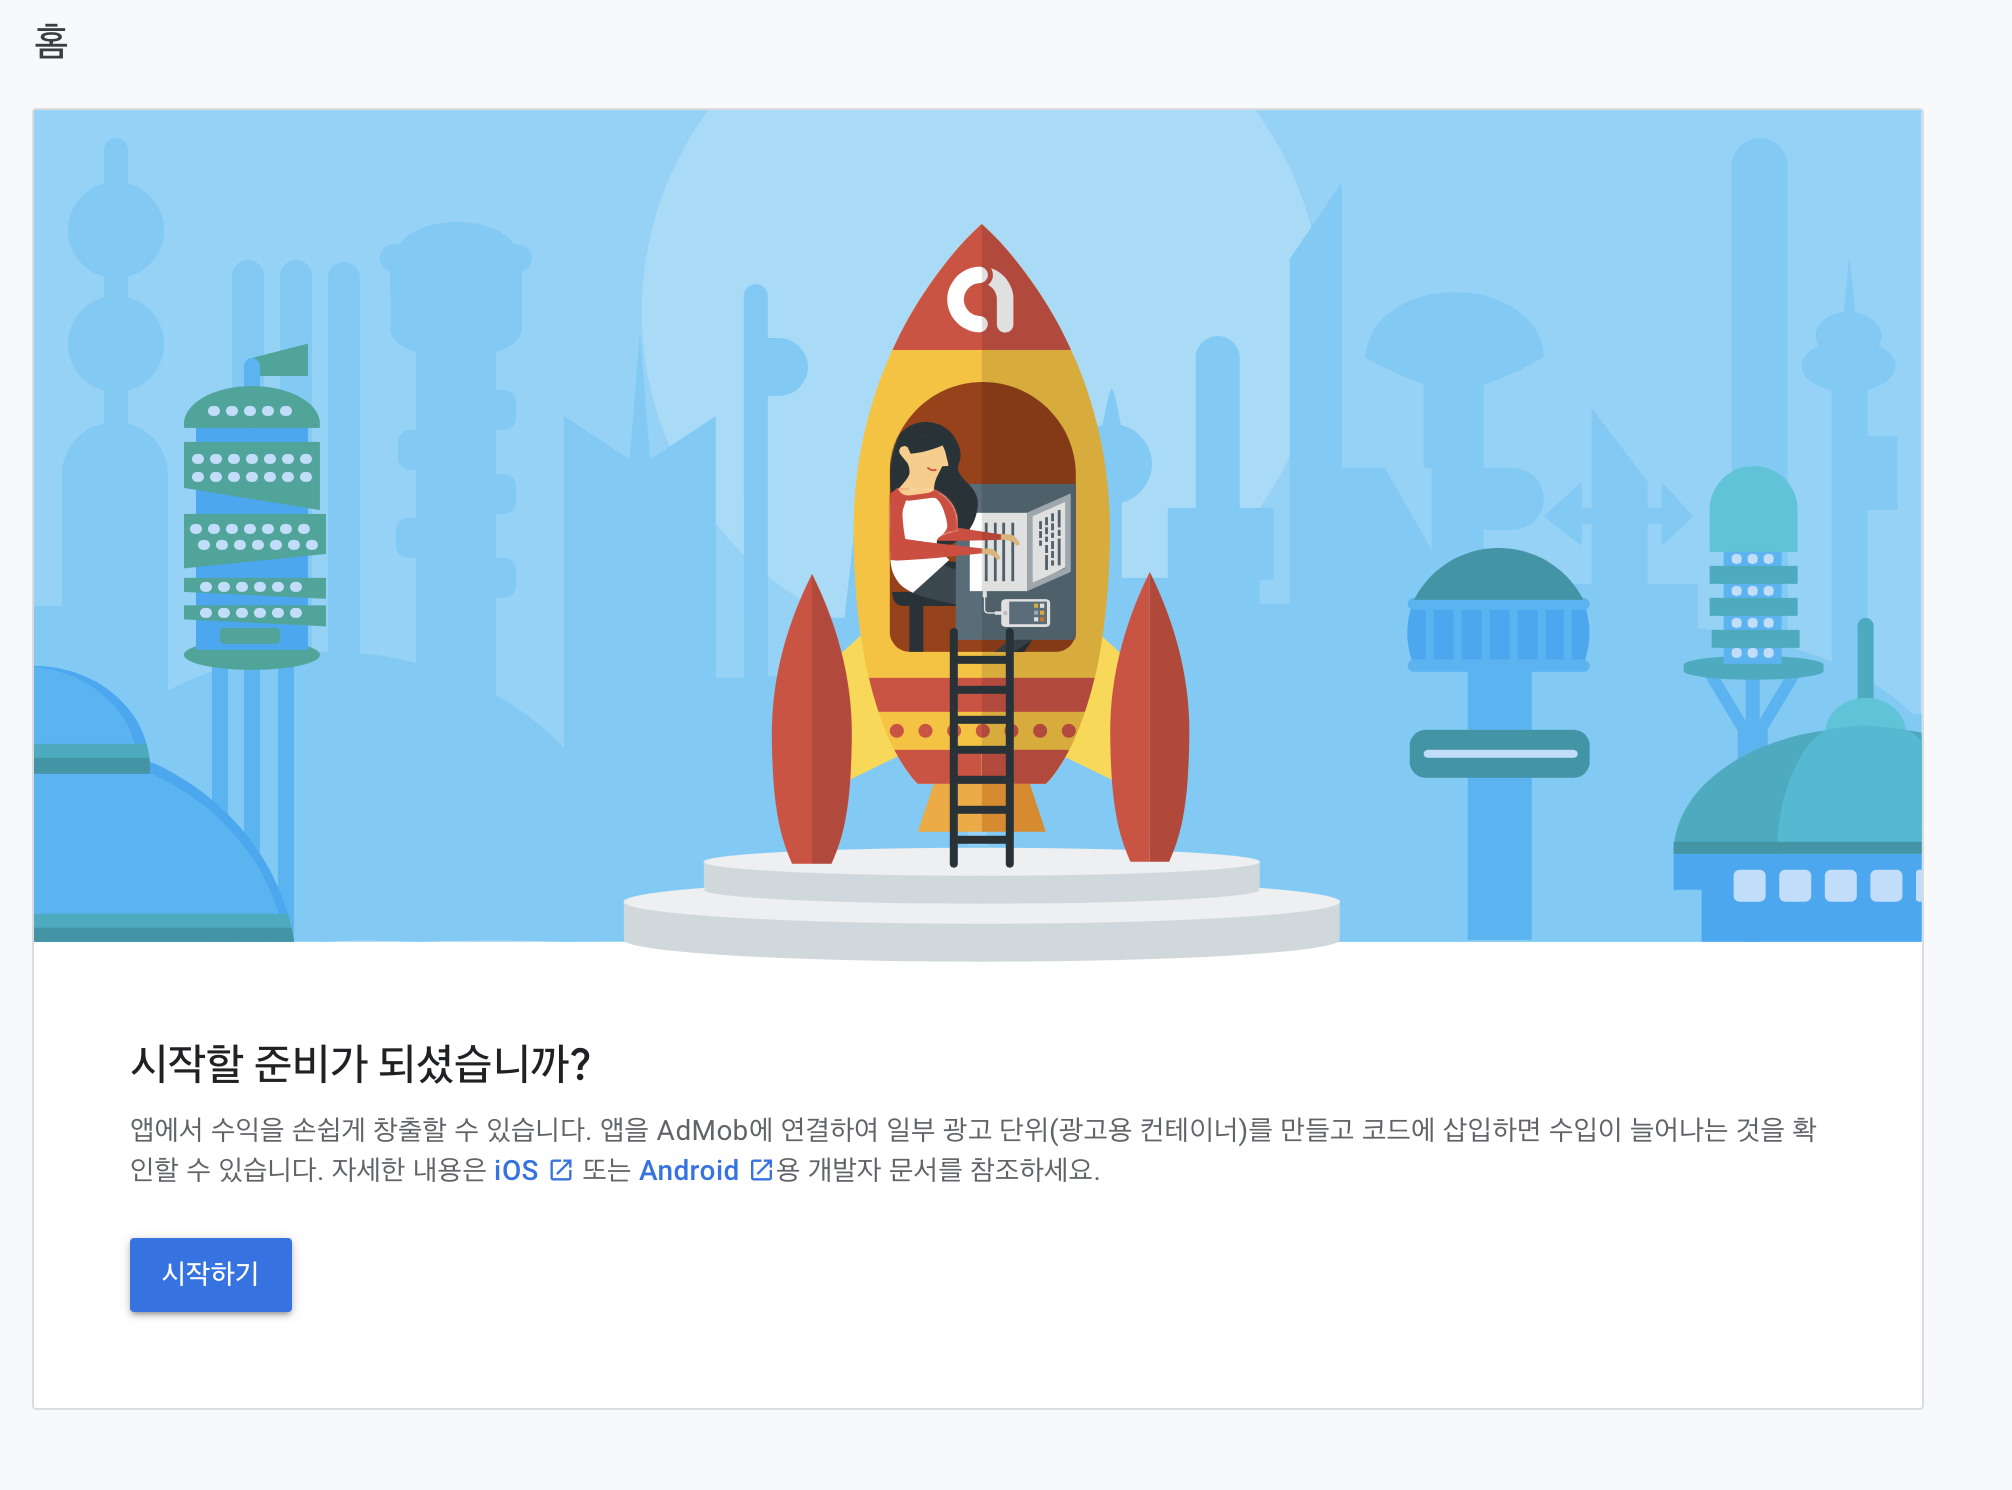
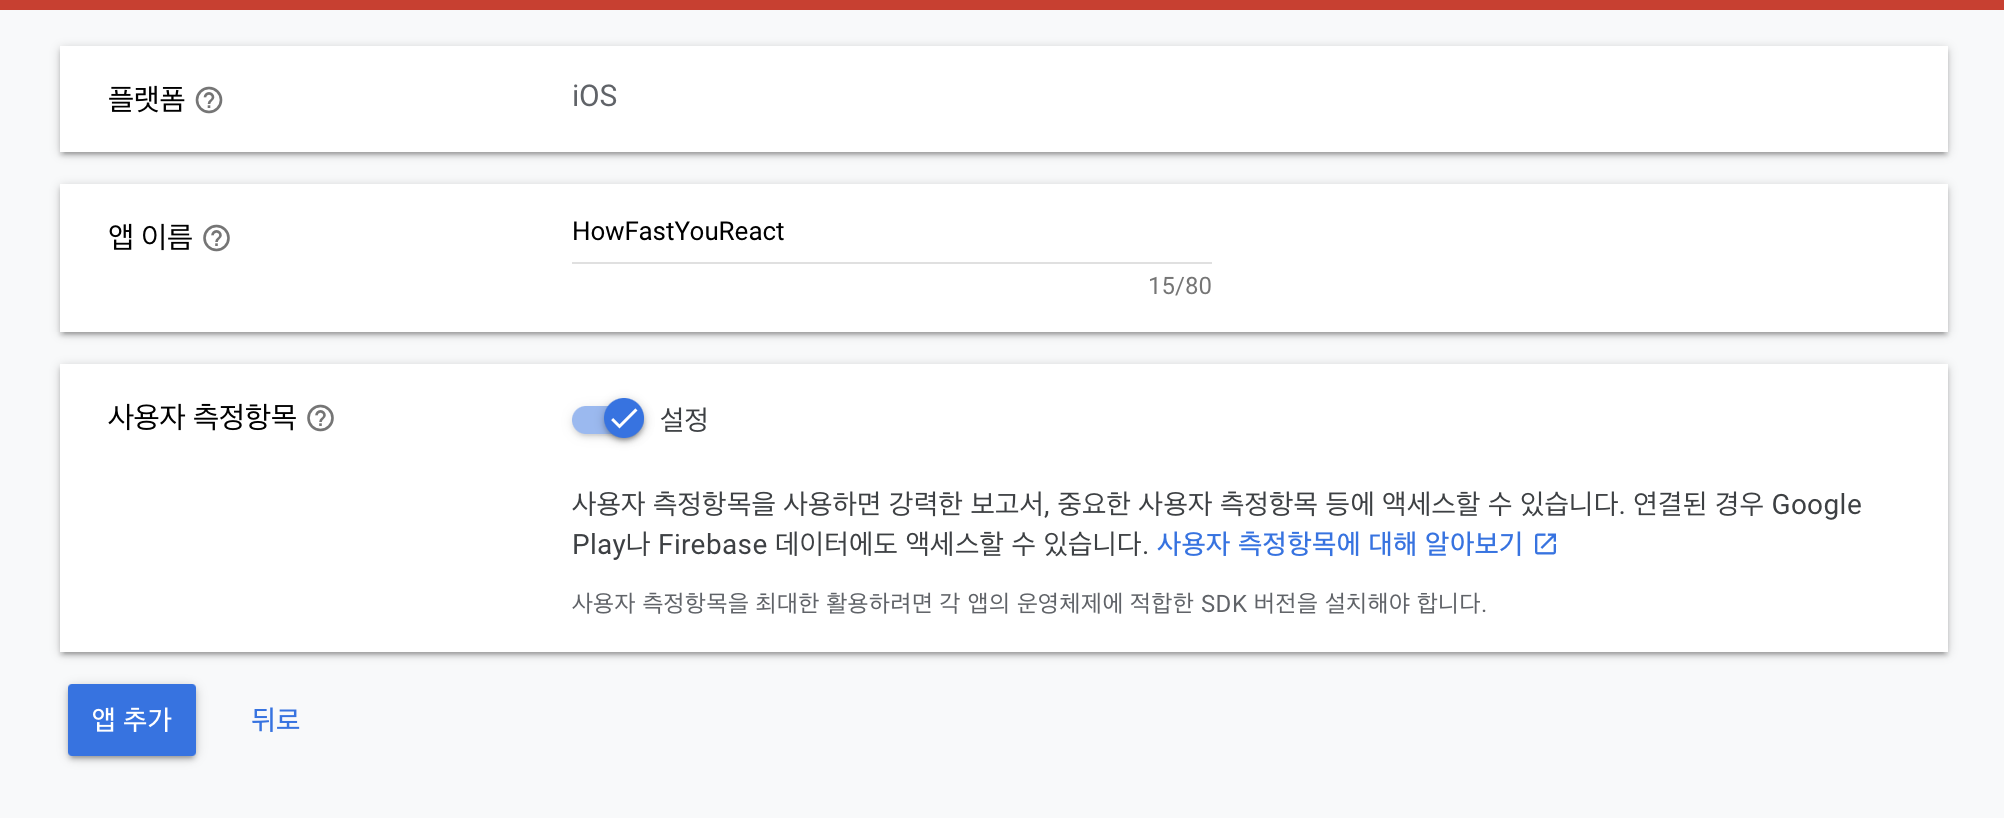
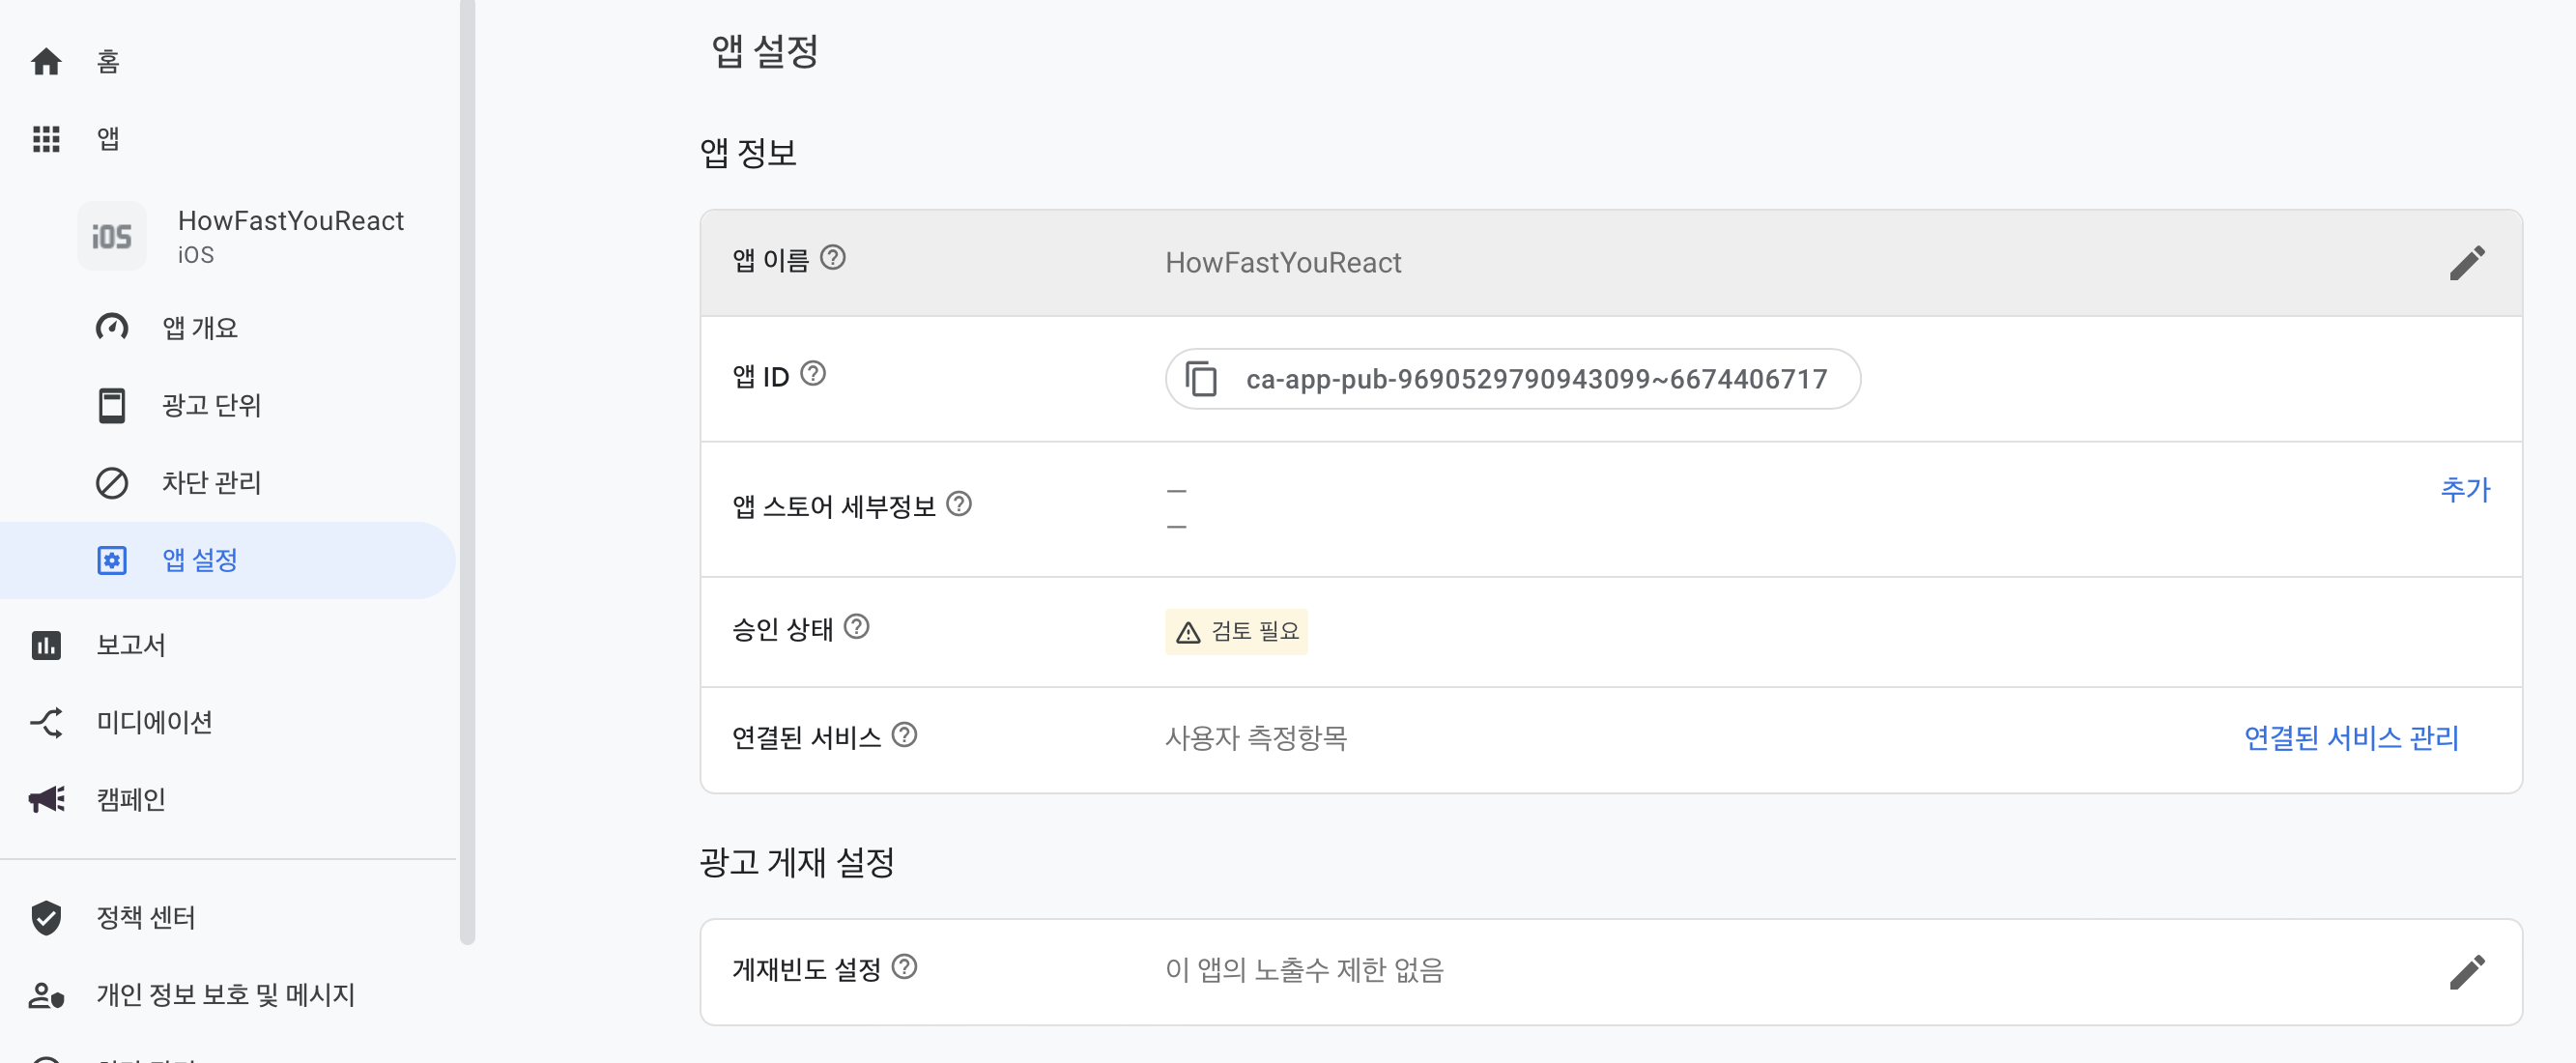
Google AdMob 프로젝트 설정

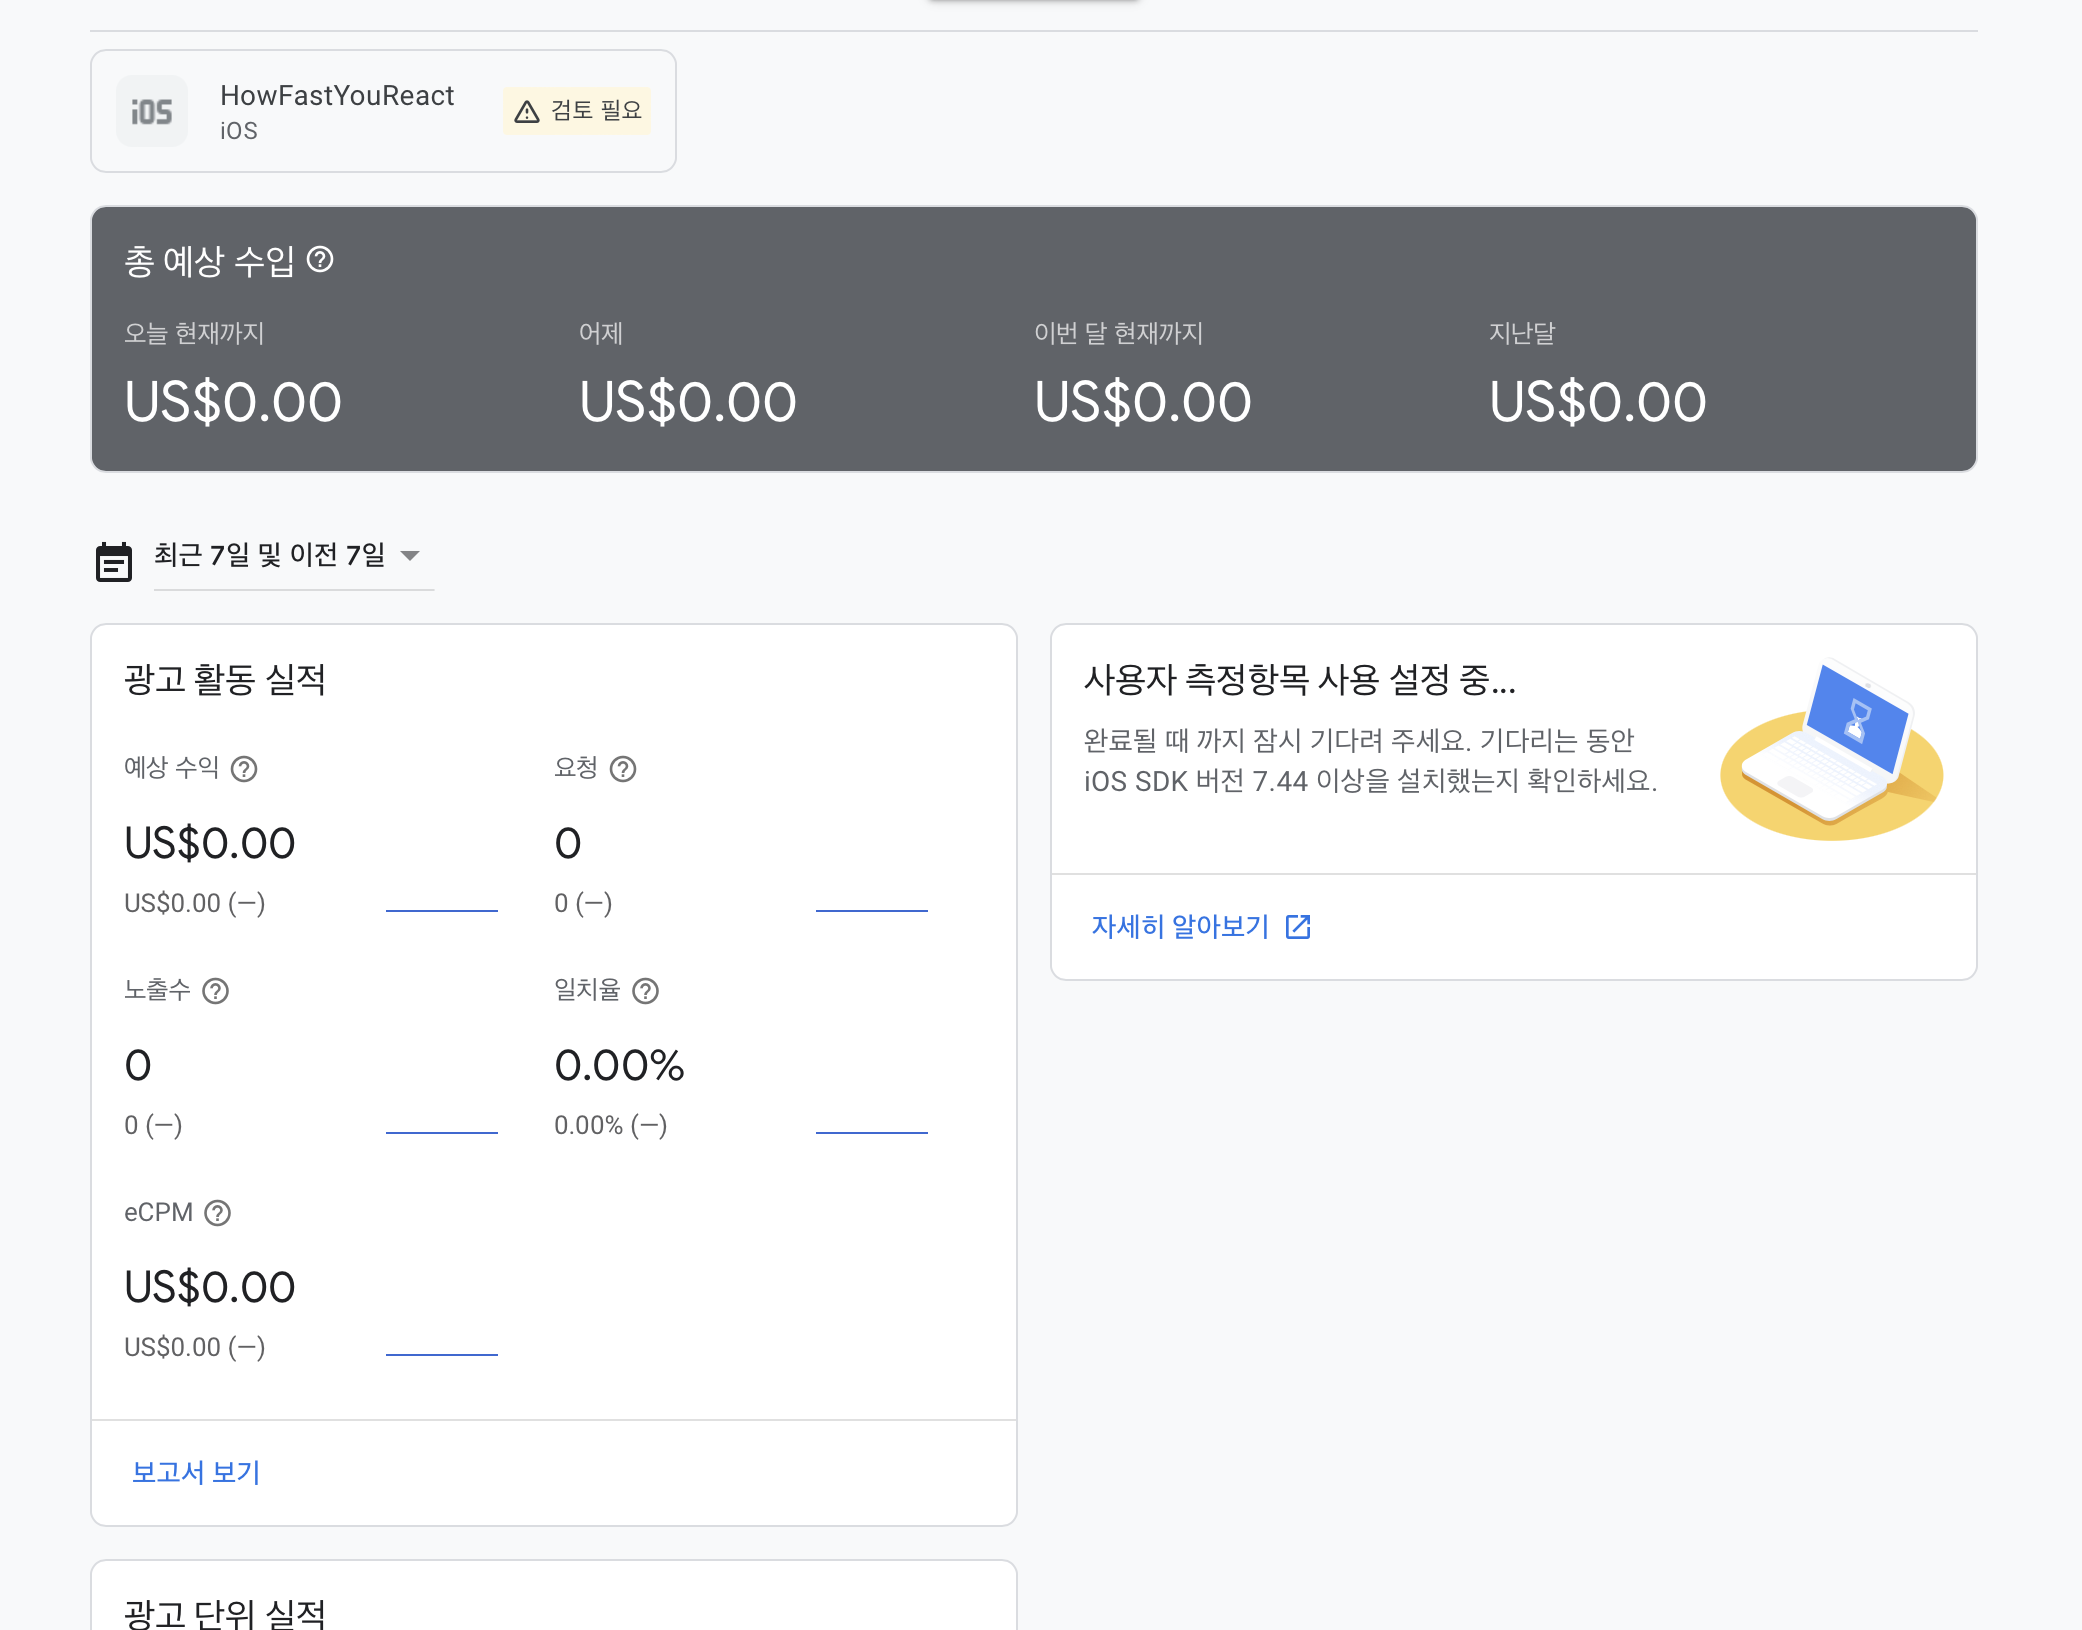
완료하믄 요로코롬 수입, 실적 화면을 볼수있음
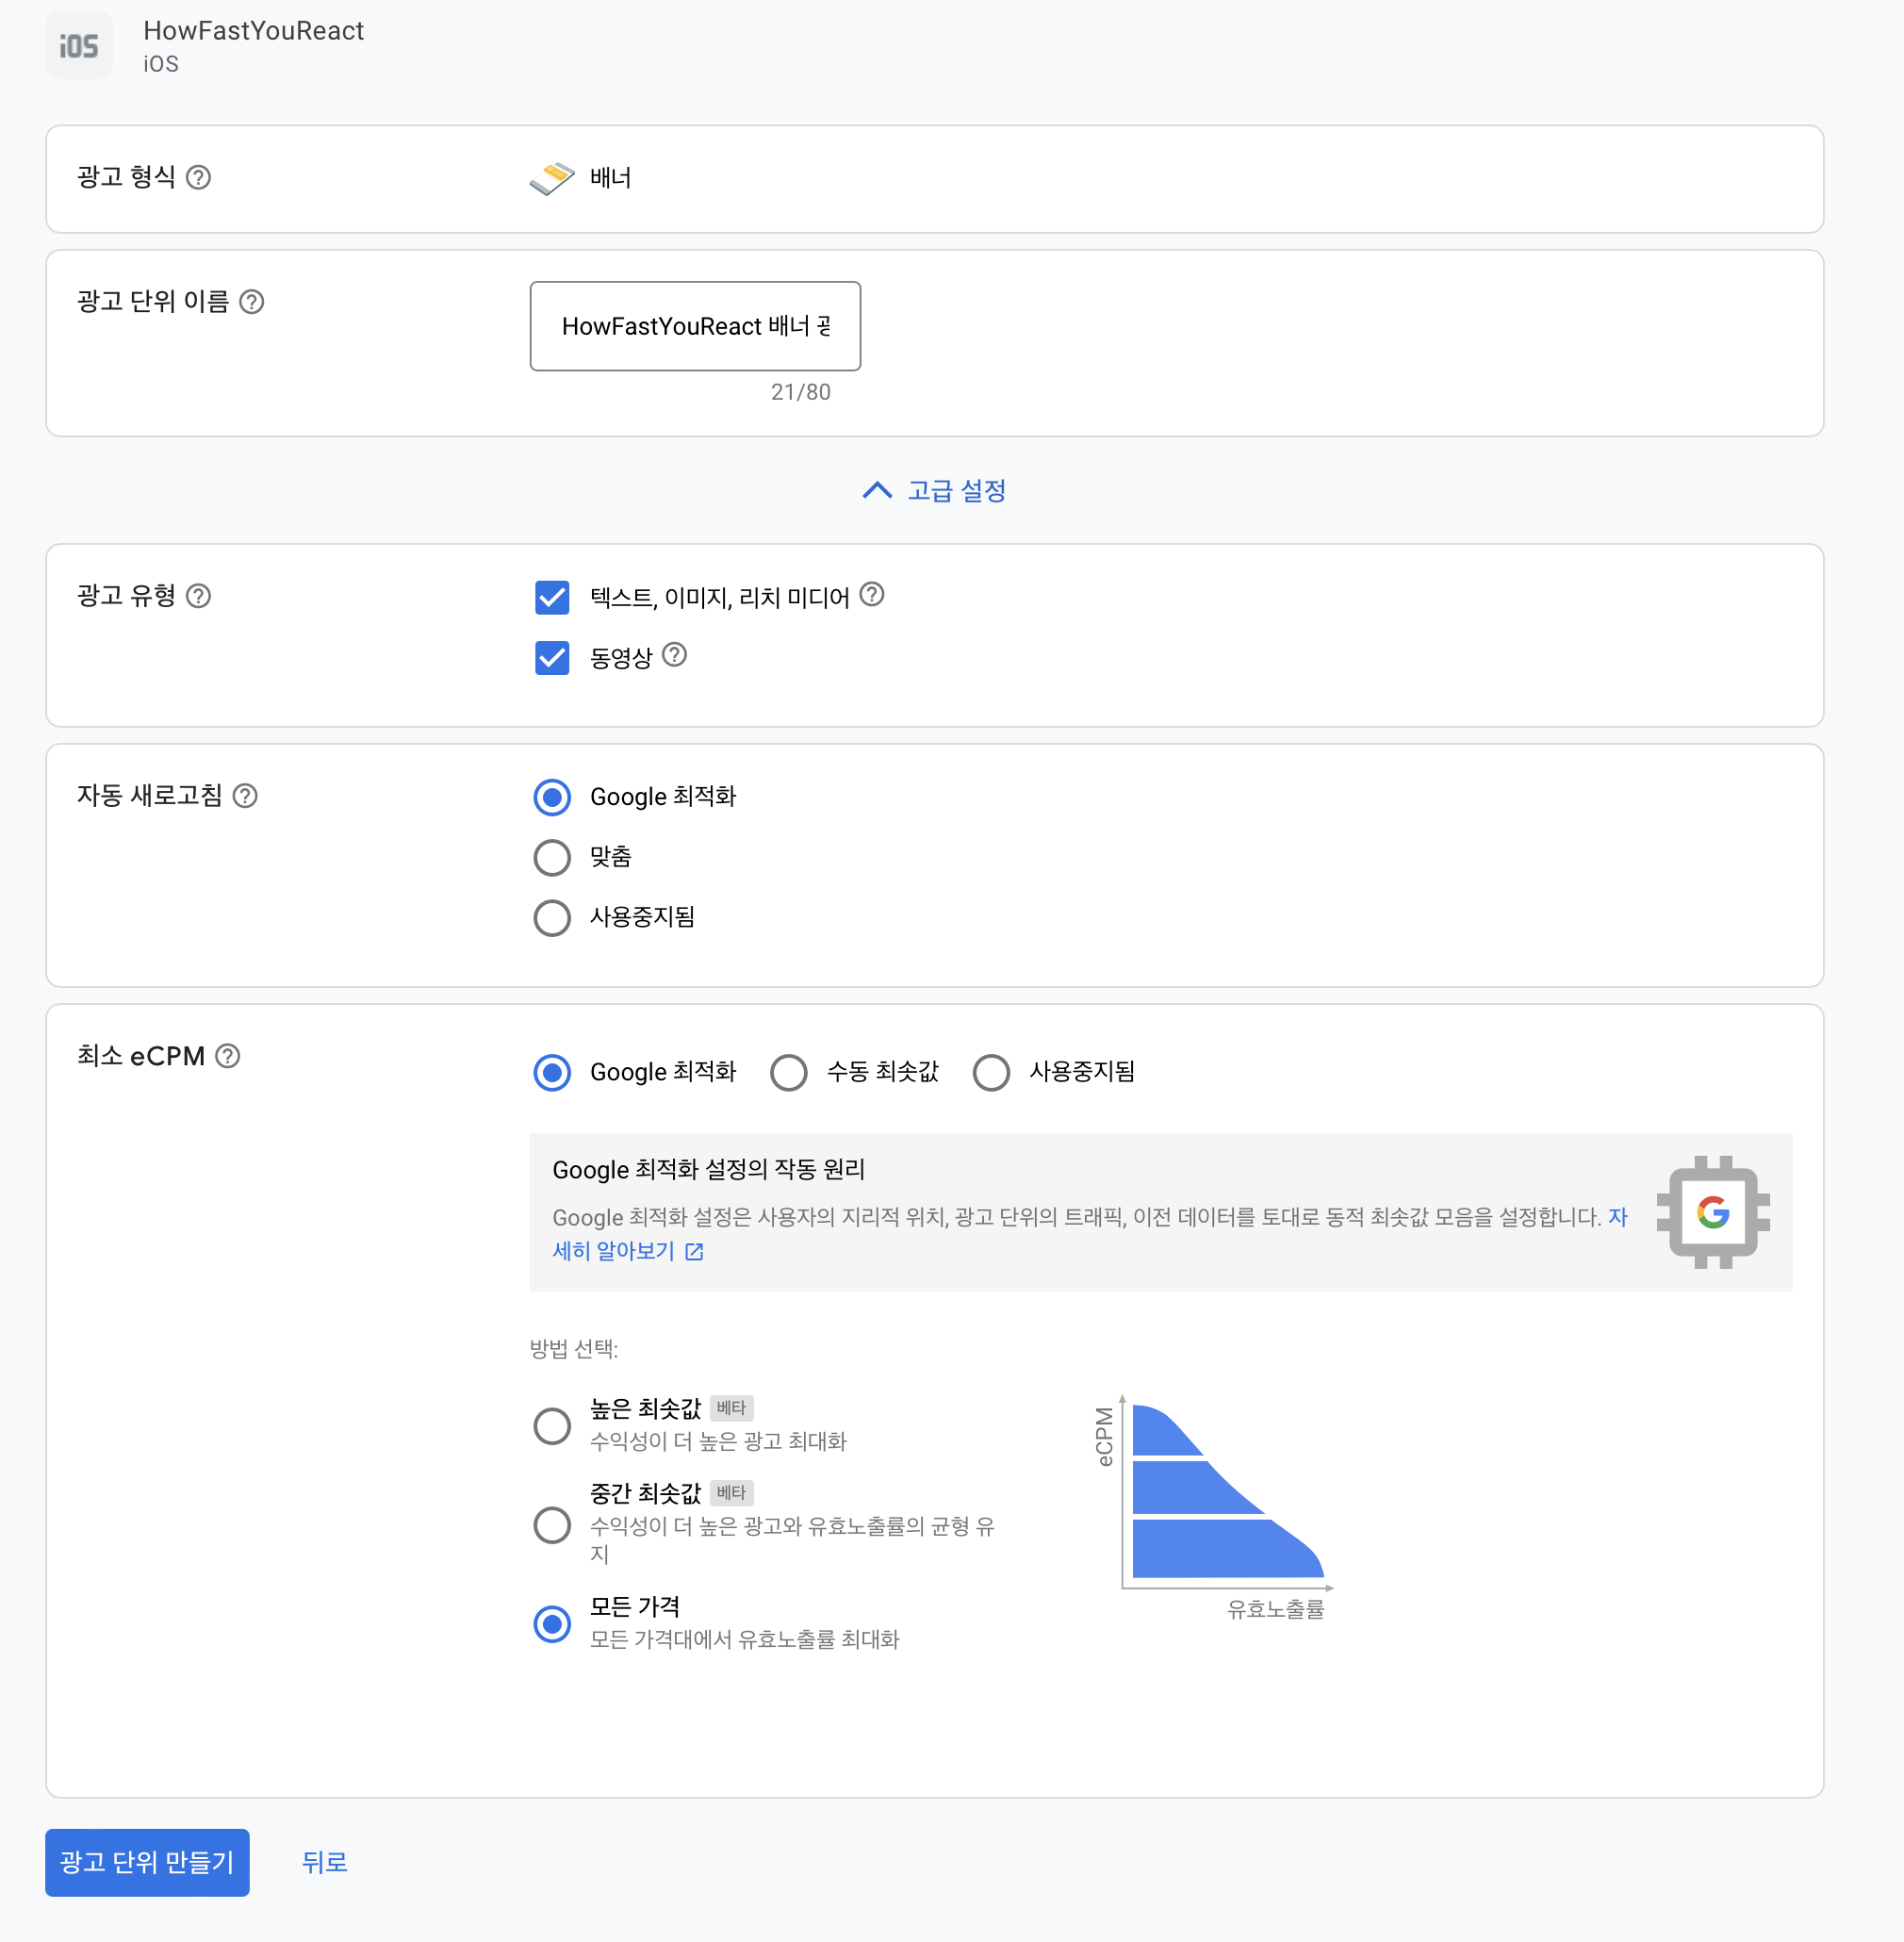
왼쪽 네비바에 광고 단위를 설정 할 수 있는데
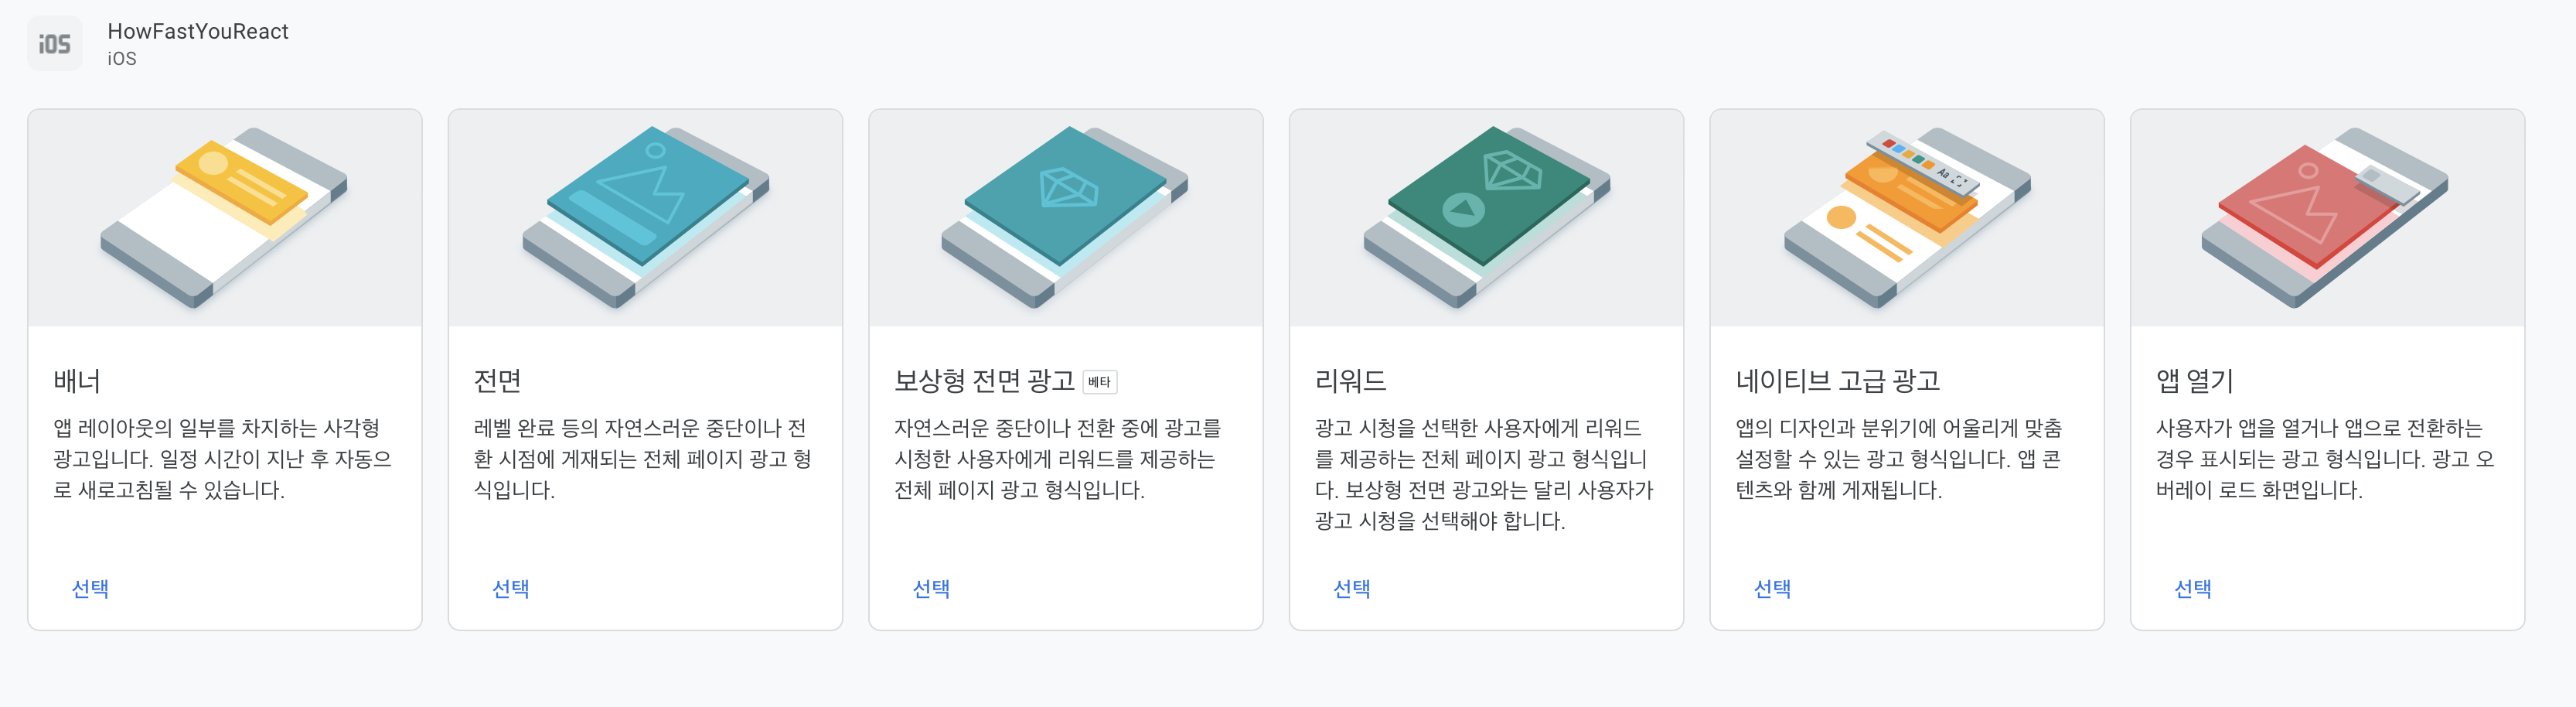
저는 사용자의 심기를 덜 건드리는 배너로 결정!

코드 구현
//
//  MainViewController.swift
//  HowFastYouReact
//
//  Created by plsystems on 2023/03/13.
//

import Foundation
import UIKit
import Then
import SnapKit
import RxSwift
import RxCocoa
import GoogleMobileAds

final class MainViewController: UIViewController, GADBannerViewDelegate {

    lazy var bannerView = GADBannerView().then {

        // TEST Key    ca-app-pub-3940256099942544/2934735716
        // Release Key ca-app-pub-9690529790943099/3137915569
        $0.adUnitID = "ca-app-pub-3940256099942544/2934735716" // 광고 유닛 ID 설정
        $0.rootViewController = self // 뷰 컨트롤러에 광고 뷰 추가
        $0.load(GADRequest()) // 광고 요청
        $0.delegate = self
    }


    override func viewDidLoad() {
        super.viewDidLoad()

        setUI()
        setAttributes()
    }

    func setUI() {
        // addSubView
        self.view.addSubview(bannerView)
    }

    func setAttributes() {
        // AutoLayout
        bannerView.snp.makeConstraints {

            $0.bottom.equalTo(self.view.safeAreaLayoutGuide).offset(-5)
            $0.left.equalTo(self.view.safeAreaLayoutGuide).offset(20)
            $0.right.equalTo(self.view.safeAreaLayoutGuide).offset(-20)
            $0.height.equalTo(45)
        }
    }
}
//
//  AppDelegate.swift
//  HowFastYouReact
//
//  Created by plsystems on 2023/03/13.
//

import UIKit
import GoogleMobileAds

@main
class AppDelegate: UIResponder, UIApplicationDelegate {


    func application(_ application: UIApplication, didFinishLaunchingWithOptions launchOptions: [UIApplication.LaunchOptionsKey: Any]?) -> Bool {
        // Override point for customization after application launch.

        GADMobileAds.sharedInstance().start(completionHandler: nil)
        return true
    }

    // MARK: UISceneSession Lifecycle

    func application(_ application: UIApplication, configurationForConnecting connectingSceneSession: UISceneSession, options: UIScene.ConnectionOptions) -> UISceneConfiguration {
        // Called when a new scene session is being created.
        // Use this method to select a configuration to create the new scene with.
        return UISceneConfiguration(name: "Default Configuration", sessionRole: connectingSceneSession.role)
    }

    func application(_ application: UIApplication, didDiscardSceneSessions sceneSessions: Set<UISceneSession>) {
        // Called when the user discards a scene session.
        // If any sessions were discarded while the application was not running, this will be called shortly after application:didFinishLaunchingWithOptions.
        // Use this method to release any resources that were specific to the discarded scenes, as they will not return.
    }


}
구현 결과
결론
이렇게 간단하게 배너(광고)를 달아보았습니다.
필요에 따라 광고 단위를 설정하여 때에 맞는 광고를 설정 할 수 있다!

Reference
시작하기 | iOS | Google Developers
iOS 앱을 제작 중인 AdMob 게시자를 위한 모바일 광고 SDK입니다.
developers.google.com
728x90
반응형
'iOS > Library' 카테고리의 다른 글
| [Swift] CryptoSwift, 라이브러리를 통한 암복호화 (0) | 2023.05.26 |
|---|---|
| [Swift] Atributika, HTML 코드를 Swift 코드에 녹이기 (0) | 2023.05.26 |
| [iOS] CocoaPods could not find compatible versions for pod (0) | 2023.03.14 |
| [Swift] JSPhoneFormat 휴대폰번호 포맷팅 (0) | 2023.02.20 |
| [Swift] Then 라이브러리 예제 (0) | 2023.02.20 |
728x90
반응형
안녕하세요 욱승입니다.
이번 포스팅에서는 구글 AdMob을 이용해 광고를 달아보겠읍니다!
Pod
Google AdMob 프로젝트 설정
완료하믄 요로코롬 수입, 실적 화면을 볼수있음
왼쪽 네비바에 광고 단위를 설정 할 수 있는데
저는 사용자의 심기를 덜 건드리는 배너로 결정!
코드 구현
//
//  MainViewController.swift
//  HowFastYouReact
//
//  Created by plsystems on 2023/03/13.
//

import Foundation
import UIKit
import Then
import SnapKit
import RxSwift
import RxCocoa
import GoogleMobileAds

final class MainViewController: UIViewController, GADBannerViewDelegate {

    lazy var bannerView = GADBannerView().then {

        // TEST Key    ca-app-pub-3940256099942544/2934735716
        // Release Key ca-app-pub-9690529790943099/3137915569
        $0.adUnitID = "ca-app-pub-3940256099942544/2934735716" // 광고 유닛 ID 설정
        $0.rootViewController = self // 뷰 컨트롤러에 광고 뷰 추가
        $0.load(GADRequest()) // 광고 요청
        $0.delegate = self
    }


    override func viewDidLoad() {
        super.viewDidLoad()

        setUI()
        setAttributes()
    }

    func setUI() {
        // addSubView
        self.view.addSubview(bannerView)
    }

    func setAttributes() {
        // AutoLayout
        bannerView.snp.makeConstraints {

            $0.bottom.equalTo(self.view.safeAreaLayoutGuide).offset(-5)
            $0.left.equalTo(self.view.safeAreaLayoutGuide).offset(20)
            $0.right.equalTo(self.view.safeAreaLayoutGuide).offset(-20)
            $0.height.equalTo(45)
        }
    }
}
//
//  AppDelegate.swift
//  HowFastYouReact
//
//  Created by plsystems on 2023/03/13.
//

import UIKit
import GoogleMobileAds

@main
class AppDelegate: UIResponder, UIApplicationDelegate {


    func application(_ application: UIApplication, didFinishLaunchingWithOptions launchOptions: [UIApplication.LaunchOptionsKey: Any]?) -> Bool {
        // Override point for customization after application launch.

        GADMobileAds.sharedInstance().start(completionHandler: nil)
        return true
    }

    // MARK: UISceneSession Lifecycle

    func application(_ application: UIApplication, configurationForConnecting connectingSceneSession: UISceneSession, options: UIScene.ConnectionOptions) -> UISceneConfiguration {
        // Called when a new scene session is being created.
        // Use this method to select a configuration to create the new scene with.
        return UISceneConfiguration(name: "Default Configuration", sessionRole: connectingSceneSession.role)
    }

    func application(_ application: UIApplication, didDiscardSceneSessions sceneSessions: Set<UISceneSession>) {
        // Called when the user discards a scene session.
        // If any sessions were discarded while the application was not running, this will be called shortly after application:didFinishLaunchingWithOptions.
        // Use this method to release any resources that were specific to the discarded scenes, as they will not return.
    }


}
구현 결과
결론
이렇게 간단하게 배너(광고)를 달아보았습니다.
필요에 따라 광고 단위를 설정하여 때에 맞는 광고를 설정 할 수 있다!
Reference
시작하기 | iOS | Google Developers
iOS 앱을 제작 중인 AdMob 게시자를 위한 모바일 광고 SDK입니다.
developers.google.com
728x90
반응형
'iOS > Library' 카테고리의 다른 글
| [Swift] CryptoSwift, 라이브러리를 통한 암복호화 (0) | 2023.05.26 |
|---|---|
| [Swift] Atributika, HTML 코드를 Swift 코드에 녹이기 (0) | 2023.05.26 |
| [iOS] CocoaPods could not find compatible versions for pod (0) | 2023.03.14 |
| [Swift] JSPhoneFormat 휴대폰번호 포맷팅 (0) | 2023.02.20 |
| [Swift] Then 라이브러리 예제 (0) | 2023.02.20 |